
A circle skirt is a timeless fashion staple that can be worn practically any time of the year. While there are a variety of ways to make a circle skirt, this tutorial will show you how to make a basic version using a sewing machine and fabric. If you’re looking for an easy, beginner-friendly way to make a circle skirt, this tutorial is for you!
What is a Circle Skirt?
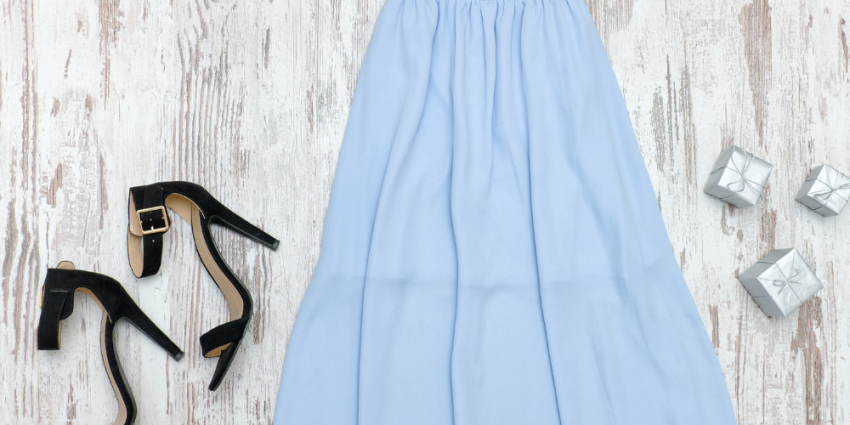
A circle skirt is a versatile and flattering skirt style that can be dressed up or down. The skirt is made from a circular piece of fabric that is sewn around the waist and then flared out. It can be made in any length, and can be worn with a variety of shoes.
To make the skirt, start by cutting out a circle shape from your fabric. Make sure to keep the width and height of the circle equal. Next, sew the edges of the circle together using straight stitches, creating a stress-free hem. Finally, flare out the edge of the fabric using a serger or bias tape machine, creating a graceful and stylish curve.]
How to Make a Circle Skirt
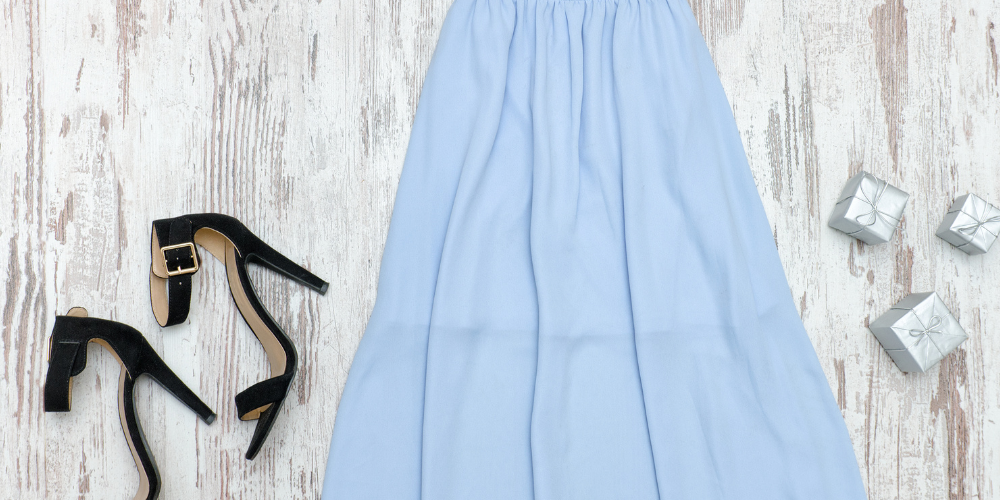
There are many ways to make a circle skirt. You can either use a fitted bodice or you can make your own stretchy waistband like I did. This skirt is very flattering, and it’s perfect for summertime!
The materials you will need:
-A skirt that is at least 80cm (32 inches) wide
-1/2 metre (19 inches) of ribbon or elastic
-Nail scissors
-Ruler or a measuring tape
-Thread
-Scissors
1. Start by cutting the ribbon into two even lengths. Make sure that the lengths are the same size so that they will fit snugly around your waistband. Then, measure out 30 centimetres (12 inches) from one end of each piece of ribbon and snip off the excess with scissors. You now have two pieces of ribbon running parallel to each other.
2. Next, take one piece of ribbon and fold it in half so that it forms a loop. Then, place this loop on top of one of the shorter pieces of ribbon and tug gently so that they connect together. Make sure that both ends of the loop are tucked underneath where they met before folding over again to form a tiny bow knot (see image below). Do this with both loops until you have made a total of six bows (see image below).
3. Now, take one long piece of ribbon and tie it around your waist in a loose knot. Then, take the remaining loops of ribbon and tie them in a knot around the waistband of your skirt, just below where the knot from step 2 is (see image below). Make sure that the loops are tightly secured so that the bow won’t come undone.
4. Next, take the ruler or measuring tape and measure out 2.5 centimetres (1 inch) from one end of each of the six bows. Then, use your scissors to cut these ends off (see image below). You now have six circles that are 2.5 centimetres (1 inch) in diameter.
5. Repeat steps 1-4 to make as many circle skirts as you need.
Tips for Making a Circle Skirt
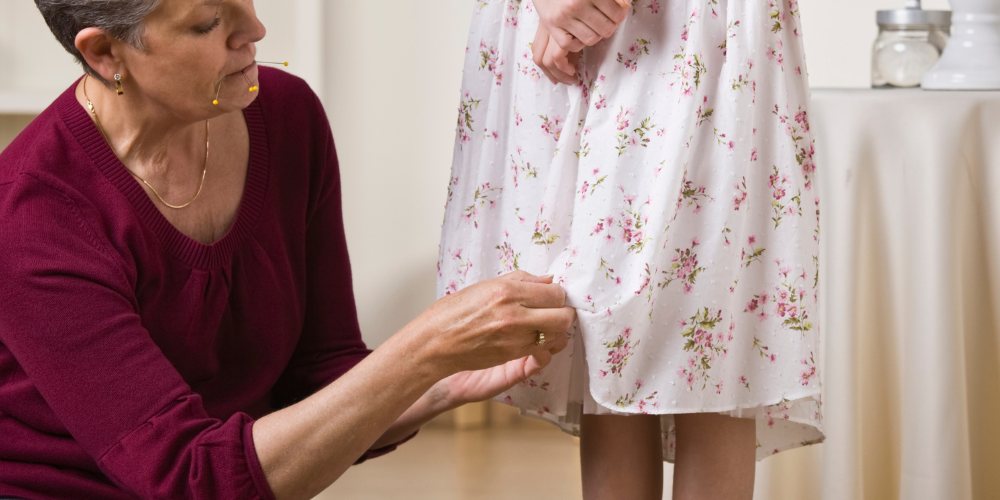
When creating a circle skirt, it’s important to think about the fit. Make sure to measure your waistband and compare it to the size of your desired skirt circumference. Keep in mind that the skirt will likely be wider at the hem than at the waistband. If you want a snug fit, err on the side of being too tight; if you want a looser fit, err on the side of being too loose.
Once you have determined your desired fit, begin by cutting out your fabric circle using a circular or straight edge seam allowance. Try not to cut any corners – this will give your skirt an unfinished look and may make it more difficult to press correctly. Next, sew around the perimeter of your fabric circle with a straight stitch or zigzag stitch (depending on which type of seam allowance you chose). Be sure to backstitch at all points where you have sewn around the circumference of your fabric circle.
Now is a good time to adjust the fit of your skirt by hemming it in either direction: 1) machine hemmed along one long side; or 2) hand-sewn on bias tape (or other hemming material). Be careful not to stretch or pull the stitches when adjusting the hem! Finally, finish off your edges by serging or top-stitching them down. Here are some tips for how to make perfect circles:
1) Follow all seam allowances – this will ensure that your finished skirt will have a seamless look.
2) Use a straight or zigzag stitch – these stitches are less likely to stretch than other types of stitches.
3) Hem along one long side only – this will give your skirt more stability and prevent it from pilling.
4) Hand-sew bias tape or another hemming material onto the edge of your skirt – this will give it a finished look and extra durability.
What to Wear with a Circle Skirt
When wearing a circle skirt, it is important to keep in mind the following tips:
-Wear a fitted top that covers your bra. This will help minimize your cleavage and make the skirt look more elegant.
-Choose a skirt that is tight enough to show off your curves, but not too tight or it will feel constricting. A good rule of thumb is to go up one size if you are normally comfortable in pants or skirts.
-Choose colors that complement your skin tone and avoid bright colors or patterns.
-Layer accessories such as necklaces, bracelets, and earrings to create an updated look.
Materials
Materials:
-Wide elastic band
-Thick cotton fabric
-Ruler or a straight edge
-needle and thread
Instructions:
1. Trace the circumference of your waist on the elastic band with a ruler or straight edge.
2. Cut out a circle from the thick cotton fabric using a sewn hem as a guide, making sure to leave enough fabric around both sides of the elastic band to overlap once folded over.
3. Starting at one outside corner of the circle, fold over that half of the fabric so that it overlaps the elastic band by about an inch. Pin in place and sew along the pinned edge with a heavy needle and strong thread (this will be our seam).
4. Repeat steps 2-3 for each side of your skirt, then stitch up the seams.
Sewing Instructions
If you’re looking for a stylish and comfortable skirt to wear, then a circle skirt is the perfect option. This style is becoming increasingly popular, and with good reason. Circle skirts are comfortable to wear and look great on just about everyone.
To make a circle skirt, start by cutting out a circular piece of fabric that’s about 20 inches in diameter. Then, use your sewing machine to hem the bottom of the fabric so that it’s about 1 inch from the floor. Next, using a Ruler and Chart as guide, sew around the edge of the fabric using a zigzag stitch. Finally, fray-end the fabric so that it has a nice finished look.
Now you’re ready to sew your skirt together. First, place the top layer of fabric over the bottom layer of fabric and align the raw edges together. Pin in place then sew using a straight stitch or zigzag stitch. Now carefully remove the pins and press down firmly on both layers of fabric so that they’re fused together. You can now cut off any excess Fabric around the edge of your skirt.
Finally, repeat steps 2-4 to create another circle skirt identical to the first one! To complete your outfit, add some cute heels or flats and you’re good to go!
Tutorial Video
Making a circle skirt can be fun and easy if you follow these steps. First, take some fabric and measure your waist circumference. This is the diameter of your circle skirt waistband. Next, find the size of fabric you need to make your waistband. Cut out the fabric and fold it in half so that the sewn edge is on the inside. Sew the folded edge together.
Now, right before you sew the fabric together, draw a circle on one side of the fabric with a compass or a standard ruler. After you have drawn your circle, use that as a guide when sewing together the two halves of the fabric. You will now have a circular waistband! To finish off your skirt, hem it by sewing an inch or two above where you hemmed the original skirt seam.
What are the materials needed to make a circle skirt?
The materials needed to make a circle skirt can vary depending on the fabric choice and hemming technique chosen. Below are some specific supplies you will need:
– Skirt fabric (a lightweight cotton or linen is ideal)
– A Ruler or Measuring Tape
– Thread
– Knife or Shears
– Thread Cutter
How to sew a circle skirt
There are many ways to sew a circle skirt, so find one that you feel comfortable with. Here are some tips:
1. Choose the right fabric. A very thin fabric will fray easily, so choose something sturdy like linen or cotton.
2. Sew the skirt seam allowance close to the edge of the fabric. This way, there won’t be any extra fabric around the hem which can cause it to sag.
3. Trim any excess fabric before seaming the skirt together. You can also use a bias tape or hemming tape to reinforce the edge of the seam if desired.
4. Cut out your circles using a round object like a glass or mug as a guide and top stitch them together using an overlapping stitch (or zigzag stitch).
5. To finish off your skirts, hem them and then press down gently on both sides of each piece of fabric until they’re smooth.
How to wear a circle skirt
If you’re looking for a unique and eye-catching skirt to wear, try making a circle skirt! This style is perfect for wearing in summer since it’s lightweight and breezy. Start by finding a piece of fabric that’s at least 18 inches in diameter. Next, trace a circle using a ruler and then cutting out the fabric. Finally, hem the edges of the skirt using a basic hemming method. You can also add an elastic waistband if desired.


:max_bytes(150000):strip_icc()/what-to-wear-any-occasion-586193b058954424a00609d683766f34.jpg)
Leave a Reply